
Lemon Chantilly Cake
This Lemon Chantilly Cake has soft lemon cake layers with a fluffy vanilla cream cheese frosting for a light, summery dessert that is worthy of turning on your oven! It stays moist up to 4 days, so it’s a perfect make ahead for your next summer dinner party.

ingredients you’ll need:
- Cake Flour, or all purpose flour
- Lemons
- Granulated Cane Sugar
- Baking Powder
- Baking Soda
- Fine Sea Salt
- Unsalted Butter, softened, cubed
- Olive Oil
- Eggs, room temperature
- Whole Milk, room temperature
- Vanilla Extract
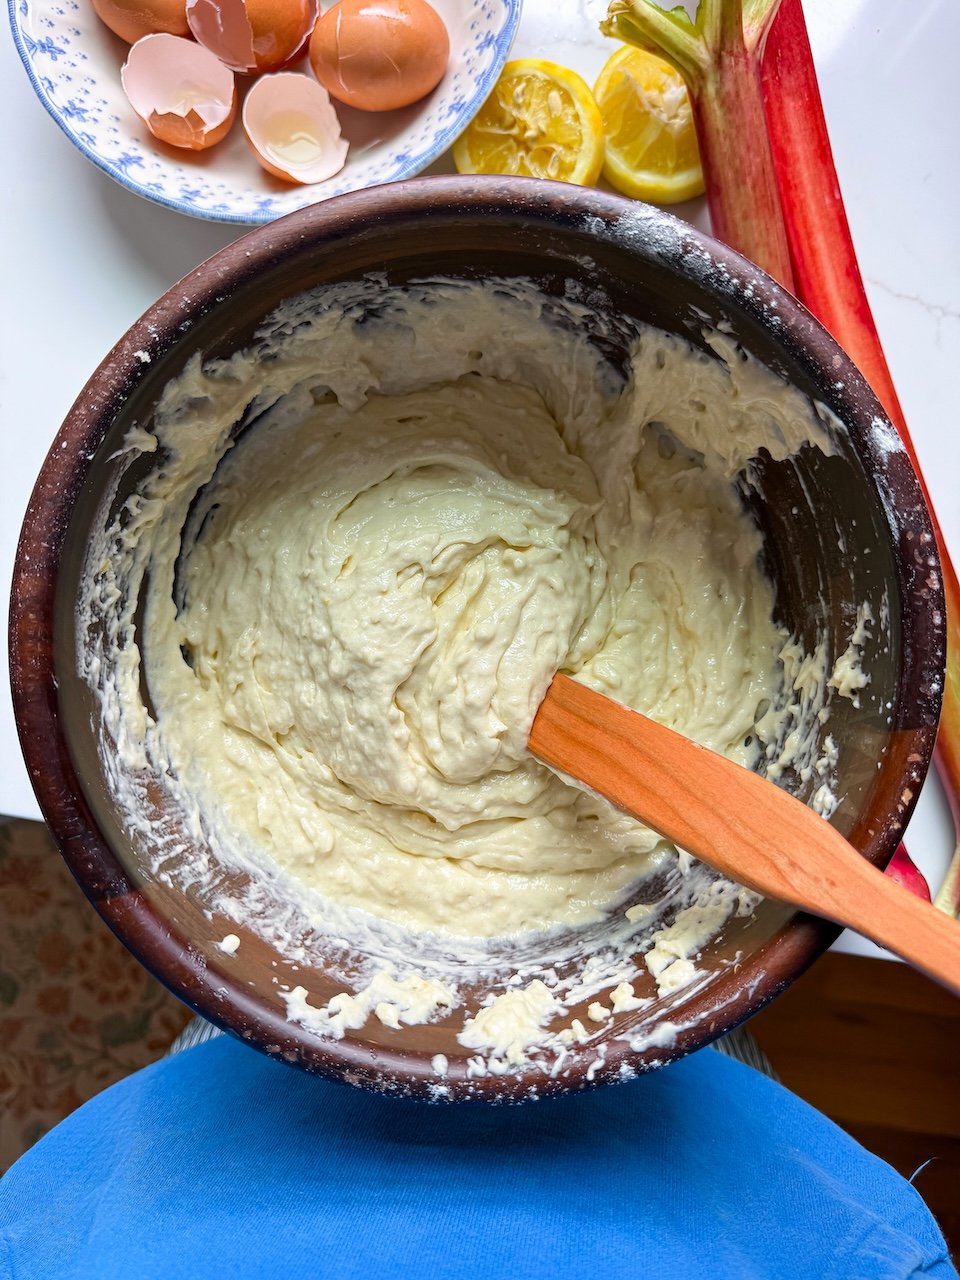
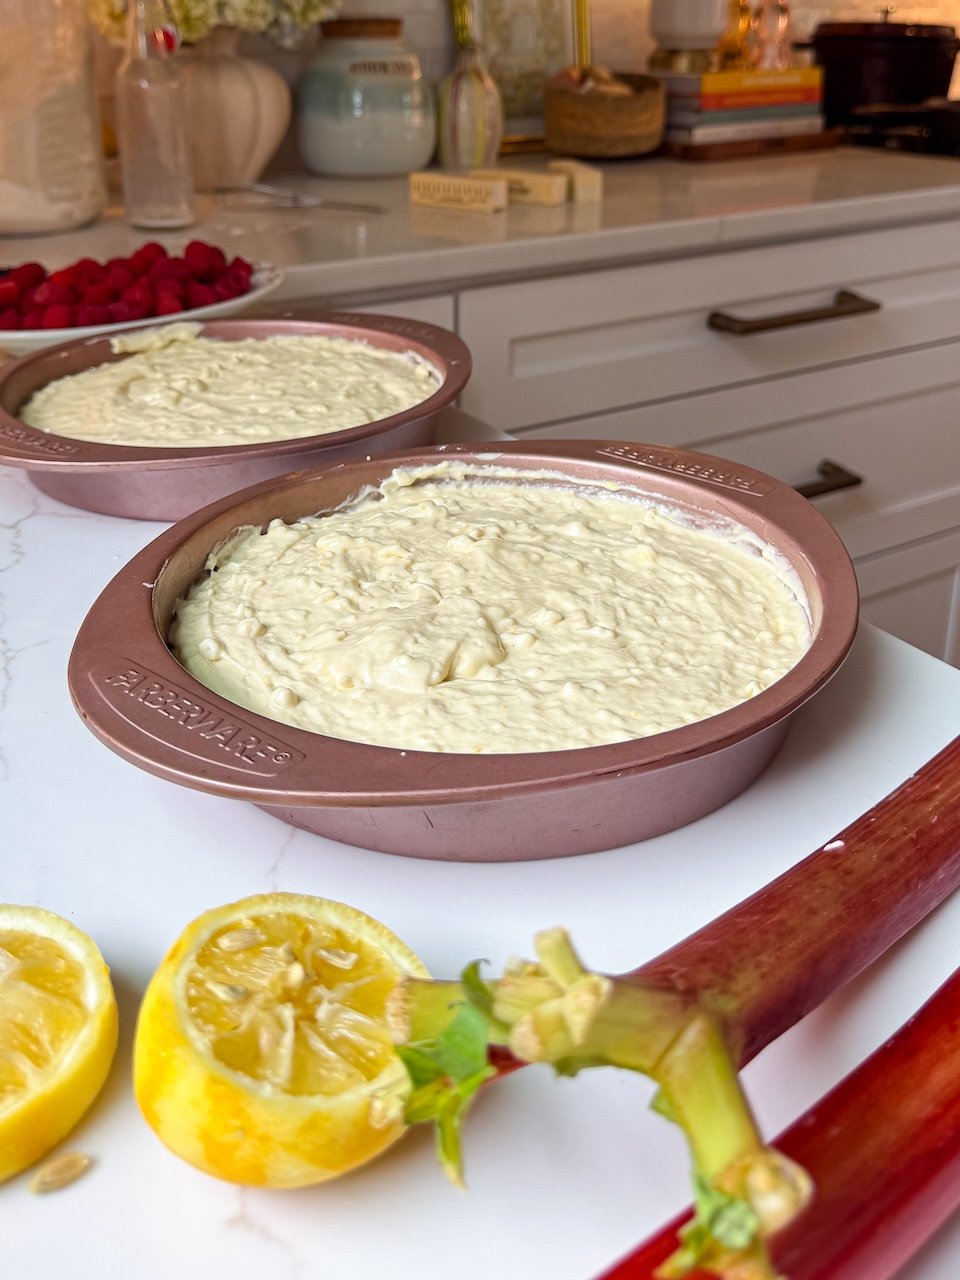
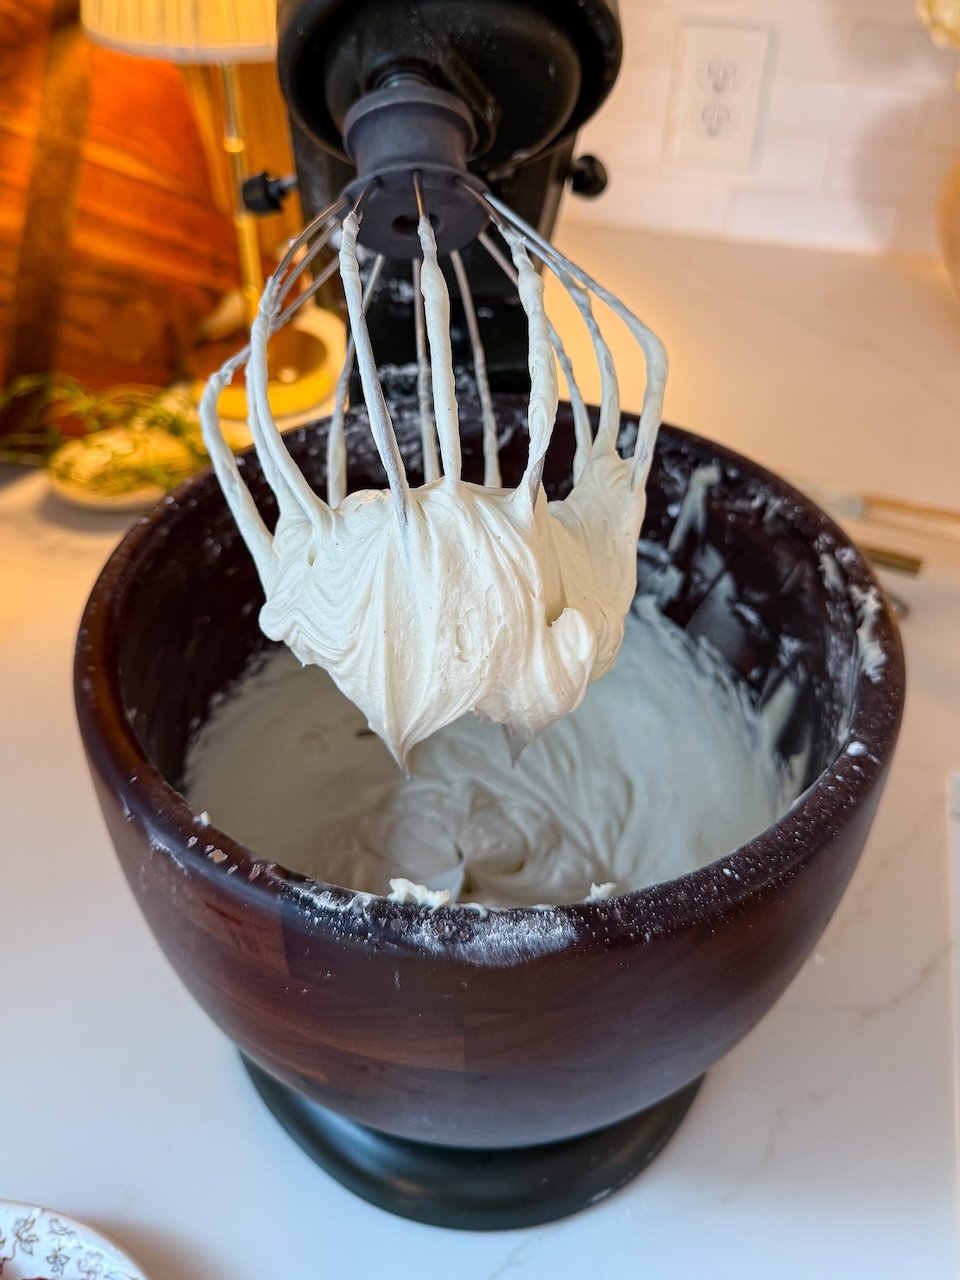
tip for making the cream cheese frosting:
Beating your frosting for longer periods of times (even up to 15 minutes) can help create a velvety, fluffy texture that just melts in your mouth! However, keep a close eye on your stand mixer and bowl to make sure it doesn’t over heat and begin loosening the texture of your frosting.
If you feel your frosting is too soft, place it in the fridge for 20-30 minutes to firm up and beat 1-2 more minutes.
how to store cake:
Store the cake slices in an airtight container in the fridge for up to 4-5 days. When ready to enjoy, let rest at room temperature for at least 10-15 minutes to help soften the frosting.


How to Make Homemade Lemon Curd:
As of the last year, I’ve been LOVING taking a little extra time to make homemade lemon curd to add in-between each layer for that extra citrus kick!! I would recommend adding a thin layer of frosting, then a 1/4″ to 1/2″ border along each cake layer edge to keep the lemon curd from spilling out.
ingredients you’ll need:
- 1 cup granulated cane sugar
- 2 tablespoons lemon zest, about 2 lemons
- 6 egg yolks
- 1/2 cup freshly squeezed lemon juice
- 1/2 (1 stick) COLD butter, cubed
how to make the lemon curd:
- combine the sugar and lemon zest in a saucepan. rub together with your fingers for 30 seconds to release lemon essence.
- whisk in the egg yolk until smooth, then pour the lemon juice in a thin gradual stream as you whisk.
- place the saucepan over Medium-Low heat, the stir constantly until it bubbles and easily coats the back of a wooden spoon.
- remove from heat to stir in the butter until completely melted and smooth.
- pour into shallow bowl, then cover the surface with plastic wrap to prevent it from hardening on top. place in the fridge to cool completely.
This lemon curd recipe can be stored in an airtight container in the fridge for up to 6-7 days!
*Recipe has been slightly modified from original video as of July 1st, 2025! The modifications include reducing the amount of frosting and helping any rising troubles. I want this recipe to be as foolproof as possible for you all, so I hope these small adjustments help!
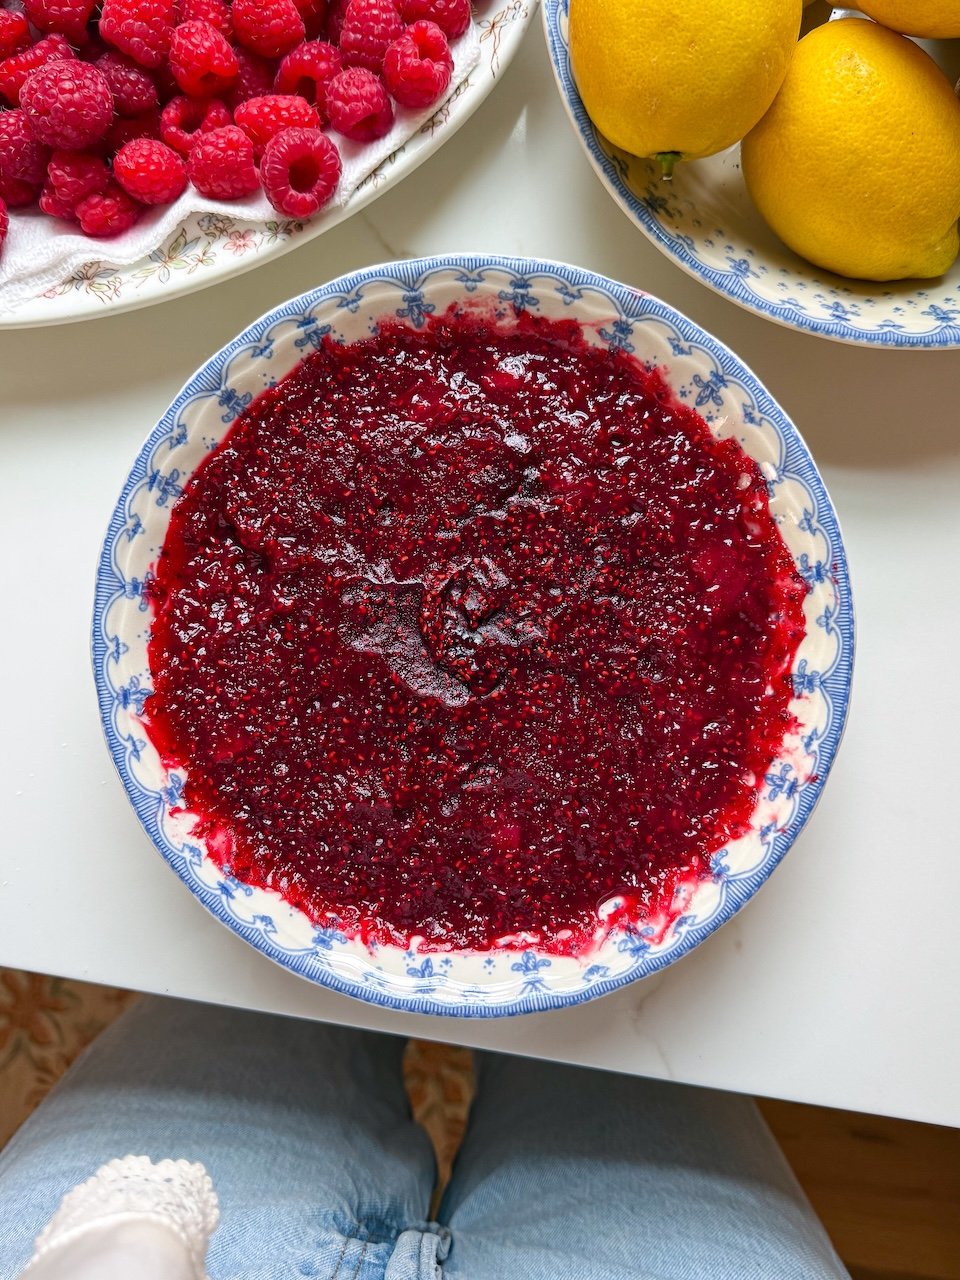
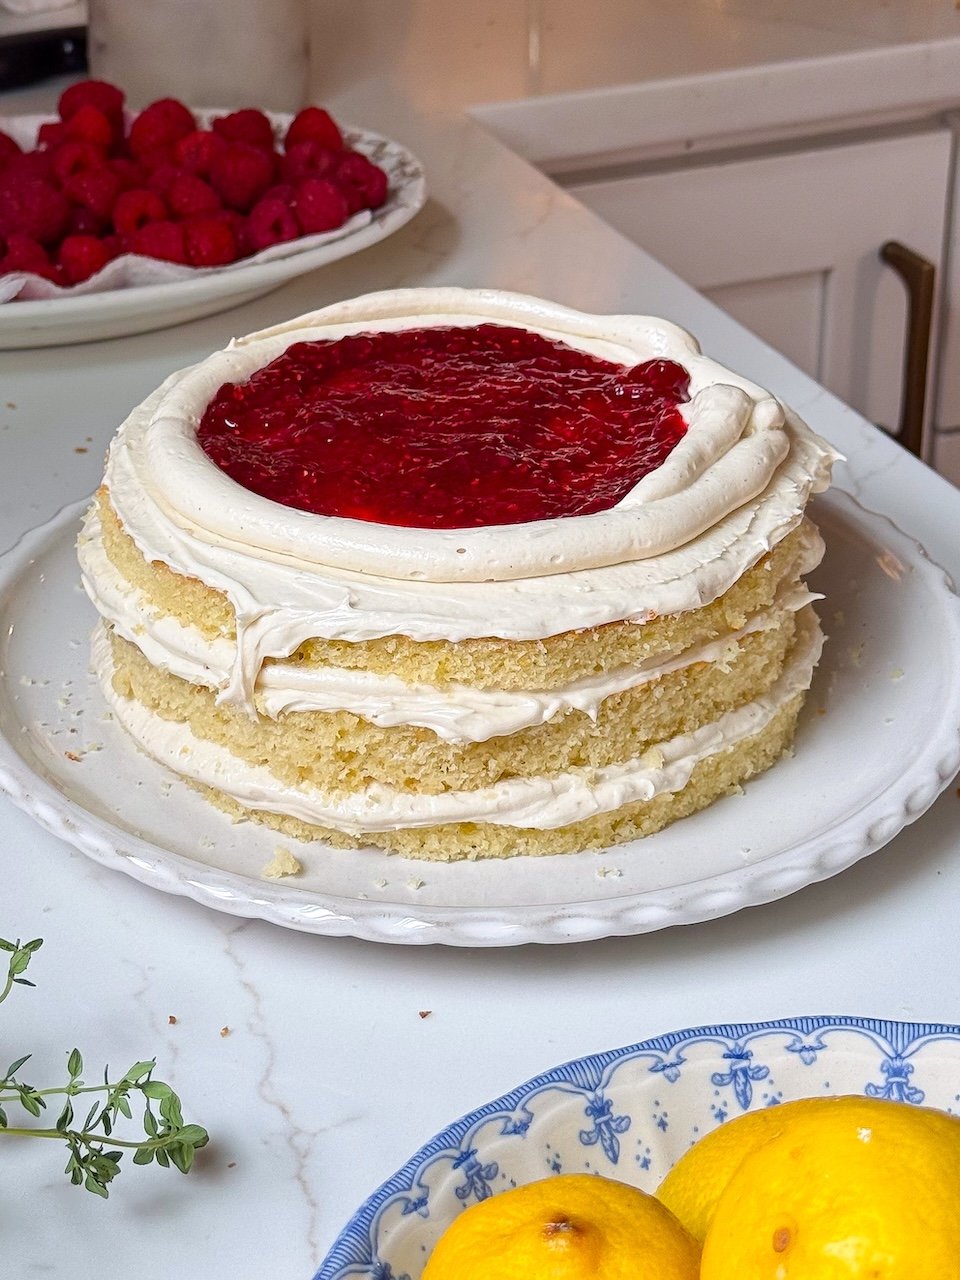
My Homemade Raspberry Rhubarb Jam Recipe:
- 4 cups frozen raspberries
- 2 cups chopped rhubarb
- 1 cup granulated cane sugar – can be reduced if desired.
- 3 tablespoons fresh lemon juice
- 2 tablespoons water
- 1 tablespoon cornstarch
- in a large saucepan, combine the raspberries, rhubarb, sugar, and fresh lemon juice. Stir to combine, then place over medium high heat. Bring to a boil, stirring frequently to prevent any burning.
- Reduce heat to LOW to simmer for 10 to 15 minutes, until slightly thickened.
- In a small bowl, whisk the water and cornstarch together to make a slurry. Stir into the jam. It should thicken up like jam almost immediately. If not, let simmer another 2 to 3 minutes.
- Transfer to a clean glass jar. Let cool to room temperature for 1 hour, then give it a stir and add the lid to store in the fridge up to 10 days.
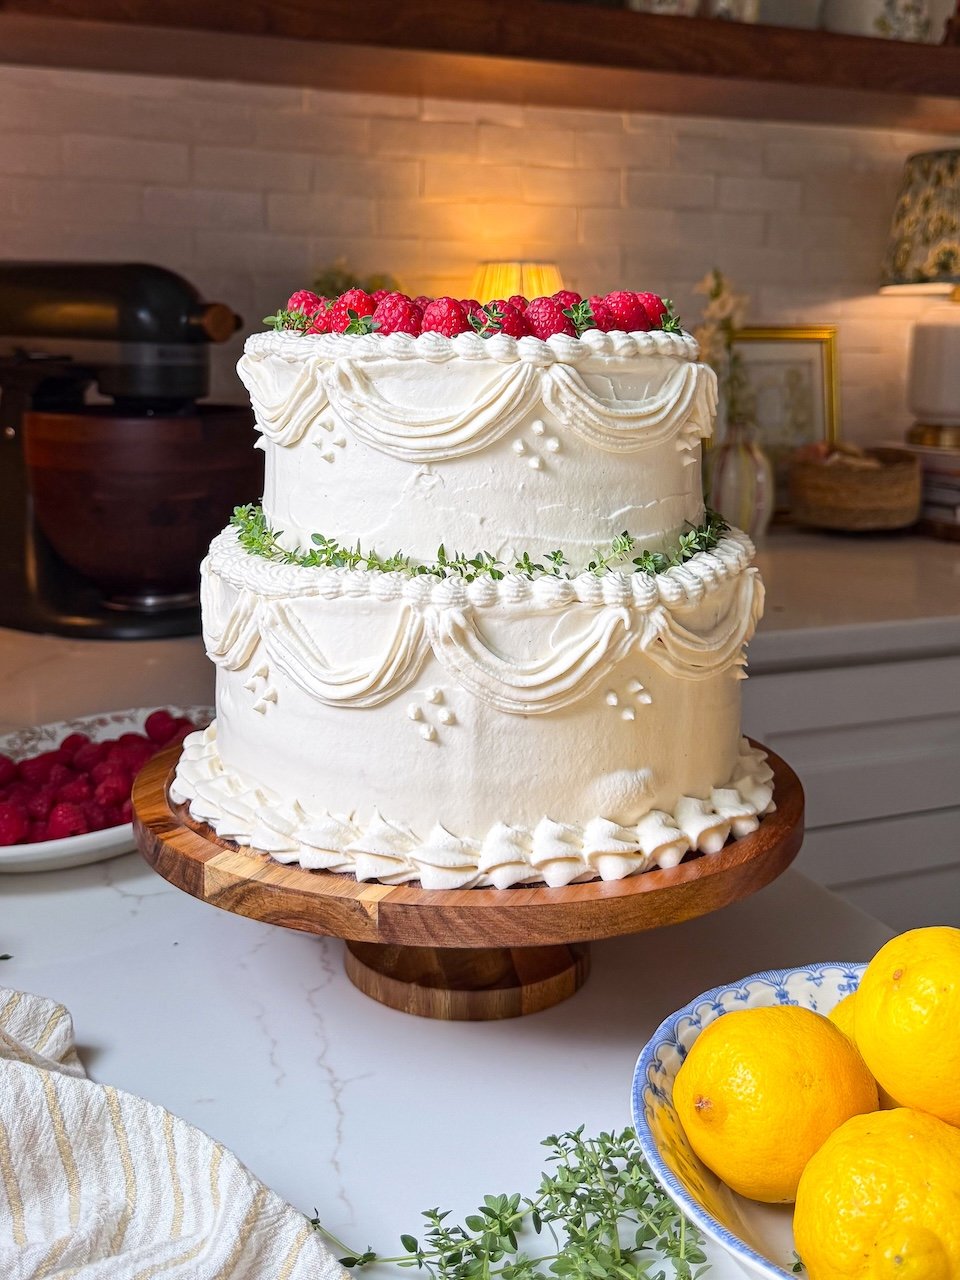
I made my friends’ engagement cake (pictured above) and here are some details I found helpful!
- For the cakes, I made three batches of the cake recipe below. After slicing each cake 9″ layer in half lengthwise, I used 4 of those layers for the bottom portion. Then, I took the other 3 layers and sliced into 7″ layers. You will have 2 layers leftover which you can make mini cakes with, copycat dot cakes, or enjoy on their own with coffee!
- For the inside frosting, I doubled the batch of cream cheese frosting, drizzling in melted 2 tablespoons of melted white chocolate as the buttercream was beating at the very end after it became fluffy. I spread a thin layer of frosting between each layer, then a 1″ border along the edges that was at least 1/2″ inside the cake. You don’t want the border to be too close to the cake edges or the jam can seep out. It will naturally spread out as the cake layers add weight on top of each other.
- I used the remaining white chocolate buttercream to add a thin crumb layer on the exterior of each cake. Then, I placed in the fridge overnight before frosting the next day. However, just make sure you give them at least 1 hour in the fridge before continuing. For extra stability, add wooden skewers in the center of each cake stack.
- Lastly, I made this Swiss meringue buttercream recipe here. Exact same measurements minus the strawberry powder. It should be stiff peaks but will still be looser than normal the cream cheese buttercream. Starting with a very generous amount of frosting on top of the cake, smooth that out with an offset spatula so it falls along the sides. Use the offset spatula to smooth out the sides. Repeat on both cake stacks.
- After their final frosting, add both cake stacks in the fridge for 1 hour BEFORE stacking. This is going to help stabilize the frosting so you have a smooth transfer. I like to use two very flat, semi-large spatulas to transfer the smaller stack on top of the larger cake. Place back in the fridge for 30 minutes.
- Transfer remaining swiss meringue buttercream to piping bag(s) to sit in the fridge for 30 to 40 minutes to help firm up with the cakes then decorate as playful as you dream up!
Cook with me!
PART 1: ENGAGEMENT CAKE
PART 2: ENGAGEMENT CAKE
Lemon Chantilly Cake
Ingredients
For the Lemon Chantilly Cake:
- 3 cups Cake Flour, or all purpose flour
- 1 tbsp. Lemon Zest about 2 lemons
- 1/3 cup Freshly Squeezed Lemon Juice about 2 lemons
- 1 1/4 cups Granulated Cane Sugar
- 3 tsp. Baking Powder
- 1/2 tsp. Baking Soda
- 1/2 tsp. Fine Sea Salt
- 8 tbsp. Unsalted Butter softened
- 1/2 cup Olive Oil
- 3 large Eggs room temperature
- 1 1/2 cups Whole Milk room temperature
- 2 tsp. Vanilla Extract
For the Cream Cheese Buttercream Frosting:
- 1 cup Unsalted Butter softened
- 8 oz Cream Cheese softened to room temperature
- 6 cups Powdered Sugar
- 2 tbsp. Heavy Whipping Cream
- 2 tbsp. Freshly Squeezed Lemon Juice
- 2 tsp. Vanilla Extract
- 1/8 tsp. Fine Salt
- (optional) Zest of Lemon
- (optional) Yellow Food Coloring or 1/4 tsp. ground turmeric for natural coloring
Instructions
- NOTE: If you prefer a milder cake flavor, use a neutral olive oil.
For the Lemon Chantilly Cake:
- Preheat oven to 350F. Butter and line two 9″ cake pans with parchment. Set aside.
- In the bowl of a stand mixer, combine the lemon zest and sugar. Rub together with your fingers for 1 minute to release the lemon essential oils. Add the softened butter. Using the paddle attachment, mix on LOW speed until incorporated then increase to beat on HIGH for 2 minutes.
- Switch to the whisk attachment, then add the eggs to beat for 2 more minutes, until doubled in volume.
- Add the lemon juice, olive oil, and vanilla. Whisk vigorously (or beat on HIGH speed) for 2 minutes, until doubled in volume and pale in color. Mix in the milk.
- Add the flour, baking powder, baking soda, and salt to a separate bowl. Mix very well.
- Add the flour mixture to the olive oil mixture. Mix just until combined and smooth. Don't over mix the batter once the flour is added.
- Divide the cake batter between the two prepared baking pans.
- Bake for 25-30 minutes, until a toothpick inserted into the center comes out clean and tops are slightly golden.
- Let cool 10 minutes in the pan, then remove from pan to cool completely.
- Once completely cooled, slice each cake layer in half to create four thin cake layers.
For the Cream Cheese Frosting:
- Combine the softened butter and softened cream cheese in the bowl of a stand mixer fitted with the whisk attachment. Beat on HIGH until smooth, about 2-3 minutes. Use a spatula to scrape down the sides and beat 30 seconds more.
- On LOW speed, gradually add the powdered sugar until completely absorbed. Begin adding the vanilla, salt, heavy cream, lemon juice, and lemon zest halfway through.
- Beat on HIGH for 4-5 minutes, until light and fluffy. Scrape down the sides with a spatula, as needed.
To Assemble the Cake:
- Frost each layer with appx. 3/4 cup of buttercream. Frost a thin layer of frosting along the side of the cake for the "crumb layer" – aka to capture any crumbs. Chill in the fridge for 10-20 minutes.
- Continue frosting the cake as normal with remaining buttercream. Store in a cake container on the container up to 3 days or in the fridge up to 5 days. Enjoy!
I truly hope you all enjoy this treasured recipe that has nestled its way into our hearts here in the ABM kitchen! ’till next time… xxL
“For I know the plans I have for you,” declares the Lord, “plans to prosper you and not to harm you, plans to give you hope and a future.” ~ Jeremiah 29:11 NIV
Did you love this recipe?
I would truly appreciate it so much if you would give a star review! Also, be sure to snap a picture of your finished dish and share it with me on Instagram – tagging me @brightmomentco. It always makes my day seeing y’alls creations!
don’t miss a thing!
Follow along for more great A Bright Moment recipes.


Hi! Could I use two 9 inch cake pans for this? Or would I need more than 2?
hi Emily! yes, I would recommend using two 9″ cake pans! I wouldn’t do anymore than that or the cake layers won’t be as moist 😉
I really enjoyed baking the cake, the overall flavor and texture was very pleasant. The only thing I would be mindful of the frosting was quite liquidy even after being chilled for over an hour. I just added some more powder sugar heavy whipping cream it help enough to apply to the cake. My family loved the cake. It was gone in less than a day.
I made this for my significant others birthday and it was amazing!! Perfectly balanced!! Will be making again!!
This was a favorite for my family! I’ll be making it again for my Grandma’s birthday 🙂
Hi! Can I make it in a single 9″ pan and then do two or three layers instead of four?
hi stella! sadly, you’ll need at least two 9″ pans or the cake batter will overflow lol
The cake itself was delicious, but please, DO NOT FOLLOW THE CREAM CHEESE FROSTING RECIPE it came out extremely watery, because the steps are in the wrong order (I found this out after googling it). I recommend finding a different cream cheese frosting recipe and just adding the lemon juice to that.
Love love love!!! It was divine and the frosting was insanely amazing! I whipped up some lemon syrup to make the cake more moist and WOW that was amazing!! Top with candied lemons and you’re golden!
Hi ! Does anyone know how this can be changed to cupcakes? I’ve made the cake before and would like to make the cupcake version today 🙂 thanks! So delicious
hi Maddie! you should be able to split it up evenly between 10 to 12 cupcake tins with liners, and then for baking time, reduce to 10 to 15 minutes. I would check on them around the 10 minute point and when you notice the tops set, use the toothpick method to see if any batter comes out (if its clean or with a few moist crumbs its done!) fun!!!
OMG OMG! I made this for a girls’ night on a whim as someone who has never made a layered cake and has limited experience with piping frosting. I made it with gluten free all purpose flour and it is probably the best cake I’ve ever tasted — not to mention I impressed all my friends with the cute cake I made + decorated!
what happens if i forgot one of the eggs.
LOL the texture may just be a little denser but you should be fine!
My family loved this!
I don’t want to have to buy both whole milk and heavy whip cream. Could I use one or the other for both the cake and frosting?
Thanks
hi stacey! if I had to pick, I would say whole milk as heavy cream will have a higher fat content which could effect the rising of the cake. just start with a little of the whole milk and gradually increase when adding to the frosting!
this is such an amazing recipe, i made it for my parents anniversary and they loved it!
the cake layer came out so soft, exactly as shown in the pictures, def recommend and thank you for the incredible recipes lauren!
(btw your videos are so cozy and inspiring, keep up the great work!)
This worked exactly as written, it was delicious and it was so loved by everyone it has been requested as the birthday cake for almost everyone in the family!
I’m so confused when do you add the milk into the cake? it has it in the ingredients list but not the instructions
hi Miriam! it’s in step 4, you’ll whisk in after the lemon juice and olive oil!